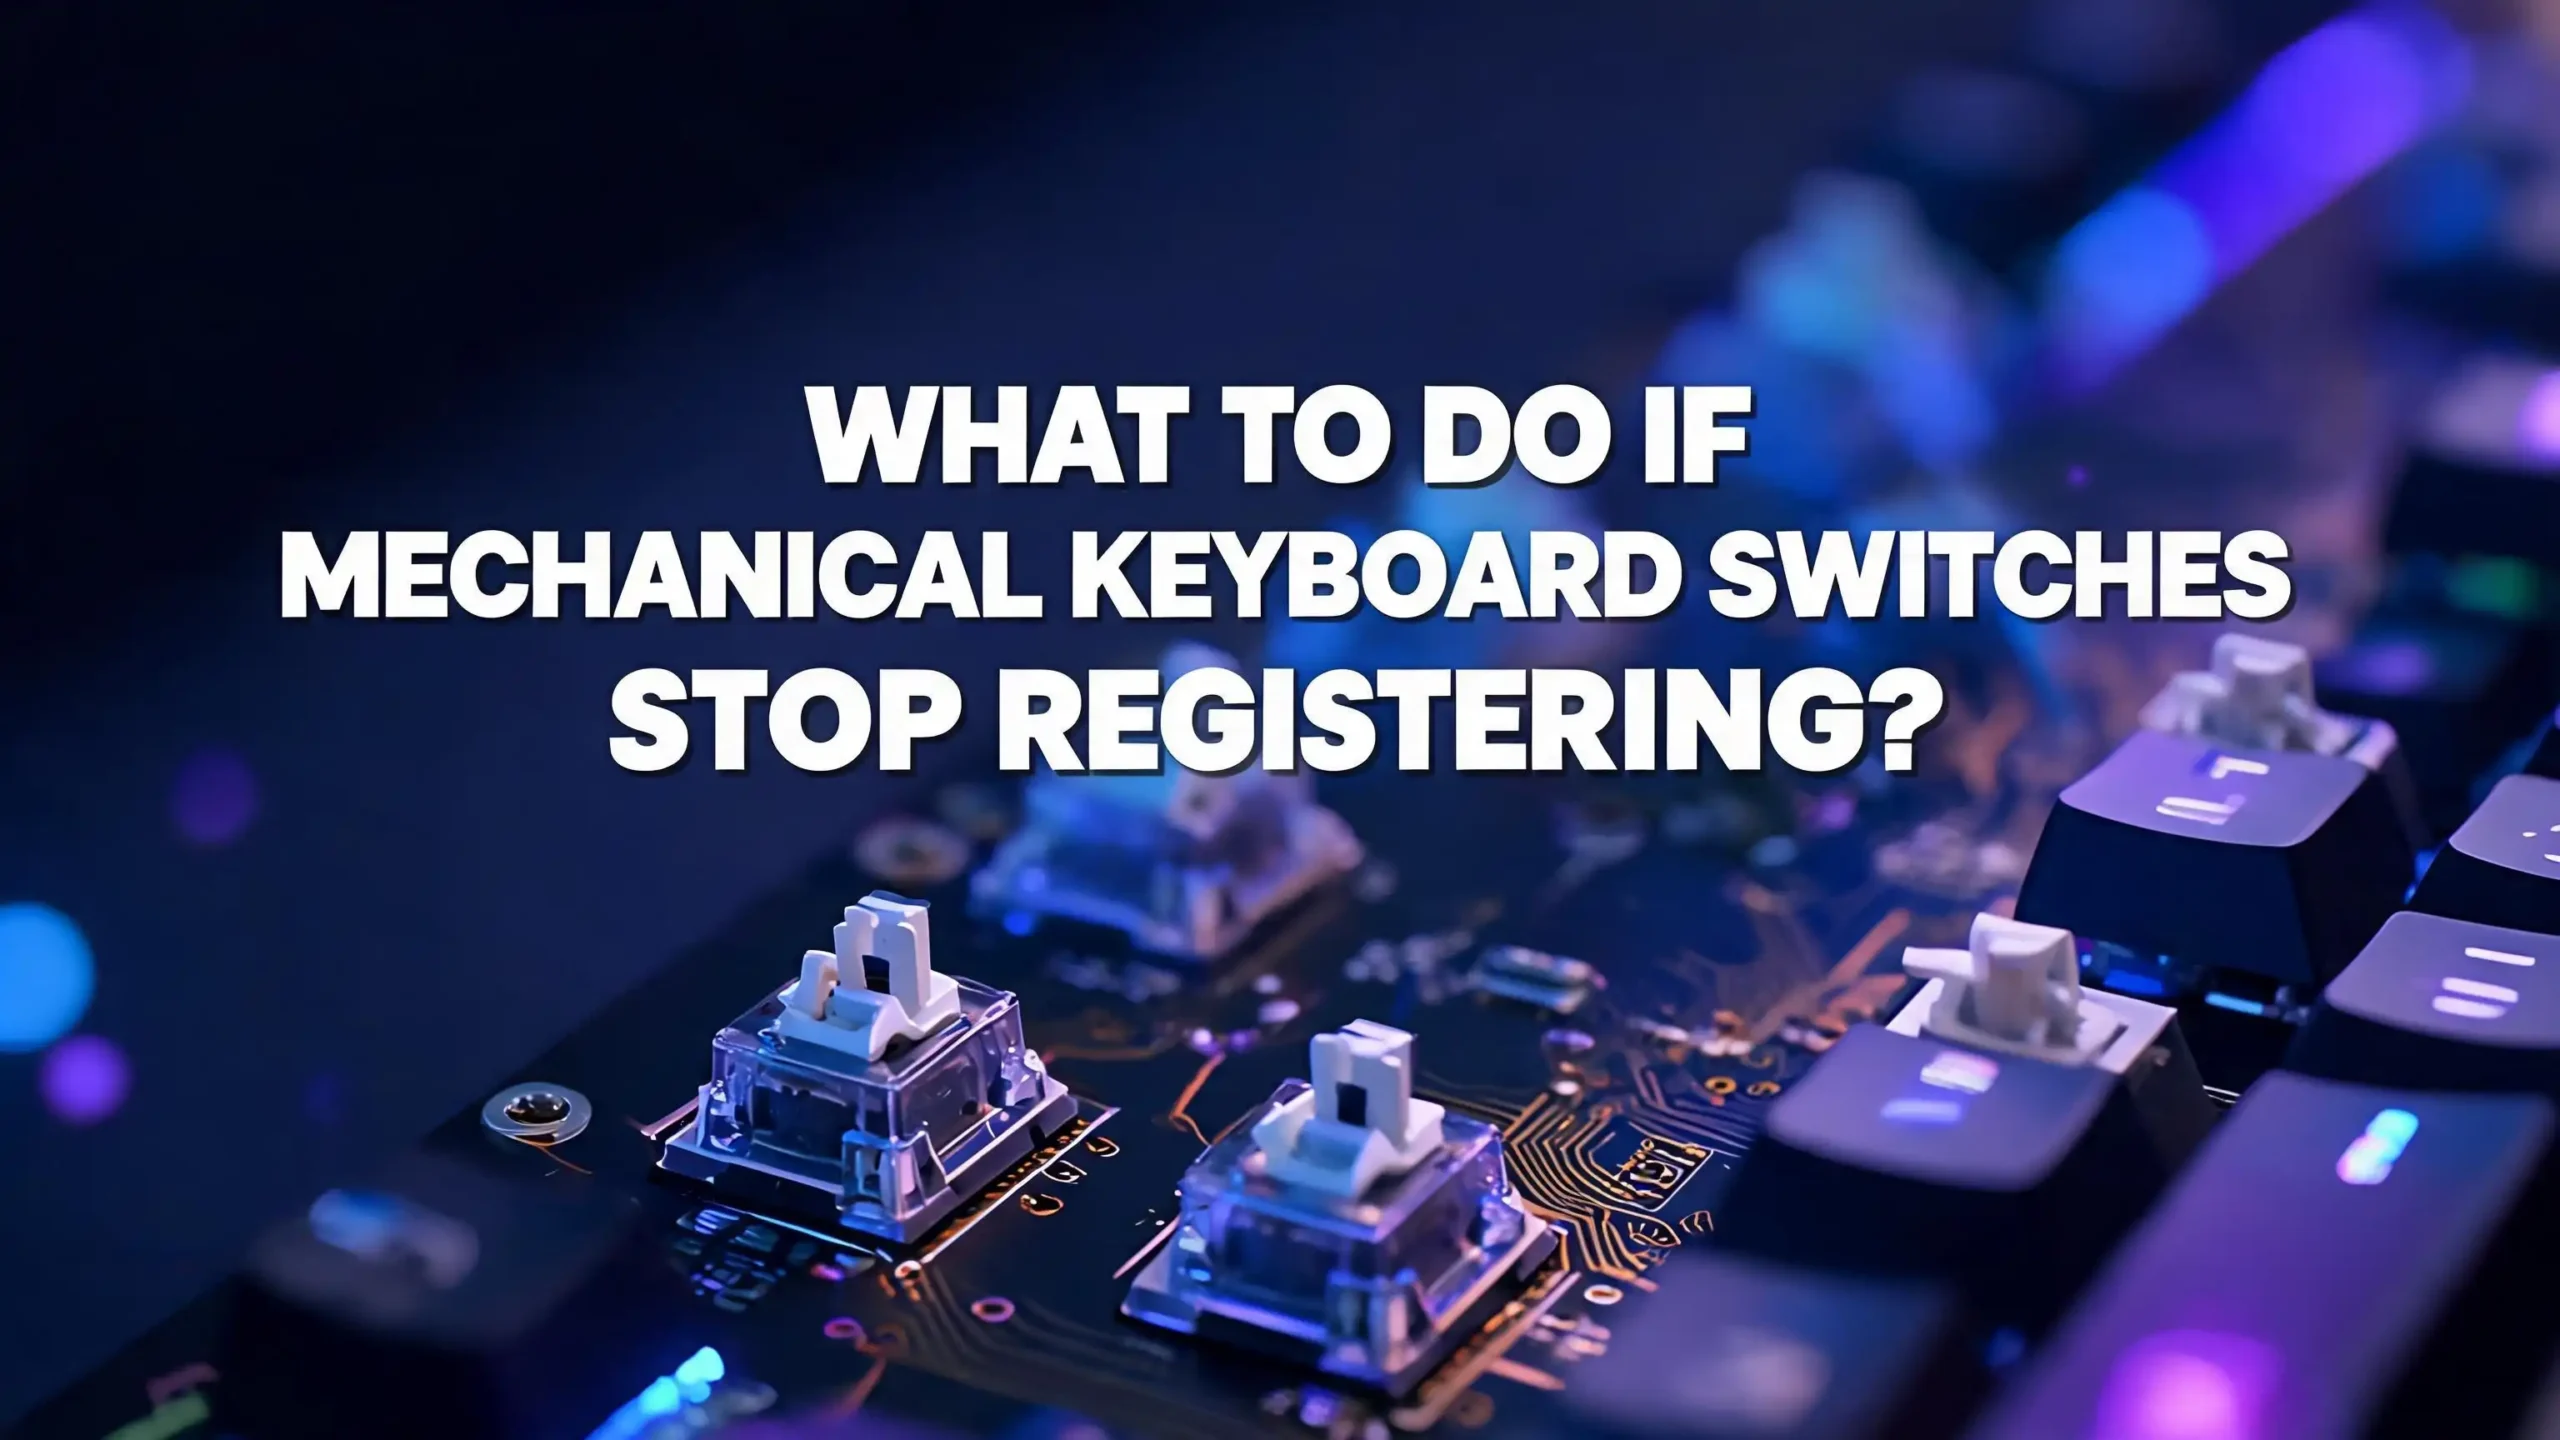
What to Do If Mechanical Keyboard Switches Stop Registering?
You press a key. Nothing happens. You press it again, harder this time, and still no response on the screen. If your mechanical keyboard switches have stopped registering, you know how maddening this problem can be.
The good news? Most switch registration failures are fixable at home. You do not need to toss your keyboard in the trash or spend a fortune on a replacement. The causes range from simple dust buildup to bent pins to firmware glitches. Each of these problems has a clear, straightforward solution.
This guide walks you through every practical step to diagnose and fix switches that refuse to register. You will learn how to identify the root cause, clean your switches properly, handle bent pins, swap out faulty switches, update firmware, and much more. By the end, your keyboard should be back to full working condition.
In a Nutshell
- Dust and debris are the most common culprits. Particles trapped under keycaps or inside switch housings can block the metal contacts from connecting. A simple cleaning with compressed air or isopropyl alcohol often solves the problem instantly.
- Bent switch pins cause instant registration failure. If you recently swapped switches or removed keycaps, a bent metal pin on the switch may not be making contact with the PCB. Straightening it with tweezers is a quick fix.
- Firmware bugs and software glitches can make keys unresponsive. A corrupted firmware or outdated driver can stop certain keys from working. Updating or resetting the firmware often restores full function.
- Hot swappable keyboards are much easier to troubleshoot. If your board supports hot swap sockets, you can pull out a faulty switch and test a new one in seconds without any soldering.
- A damaged PCB or broken solder joint may need professional repair. If no other fix works, the printed circuit board itself may have a cracked trace or cold solder joint. This requires soldering skills or a trip to a repair technician.
- Prevention saves time and money. Regular cleaning, careful switch installation, and keeping food and drinks away from your keyboard can prevent most registration issues from happening in the first place.
Identify Which Keys Are Not Registering
Before you grab any tools, you need to figure out exactly which keys are failing. Open an online keyboard tester in your browser. These free tools display a virtual keyboard and highlight each key as you press it. Press every key one at a time and note which ones do not light up on screen.
Pay attention to patterns in the failing keys. If a whole row or column of keys is dead, the problem likely sits on the PCB or in the keyboard’s matrix circuit. If only one or two random keys fail, the issue is probably isolated to those specific switches.
Also test the failing keys at different speeds and pressures. Some switches may work with a hard press but fail with a light tap. This behavior often points to debris inside the switch or a worn contact leaf. Software like Switch Hitter can log detailed data about each keypress, including whether a key registers multiple times or not at all.
Write down every key that shows a problem. This list will guide your troubleshooting and help you decide whether you need a simple cleaning, a switch replacement, or a deeper PCB repair.
Check the USB Connection and Cable First
Sometimes the problem is not the switch at all. A loose USB cable or a faulty port can cause random keys to stop working or make the entire keyboard intermittently disconnect. Start by unplugging the keyboard and plugging it back in firmly.
Try a different USB port on your computer. Front panel USB ports on desktop PCs sometimes deliver inconsistent power, which can cause detection issues. Rear motherboard ports tend to be more reliable. If your keyboard uses a detachable USB cable, swap it with another cable to rule out a damaged wire.
Watch for signs of a connection issue versus a switch issue. If the keyboard disconnects entirely or all keys fail at the same time, the cable or port is likely at fault. If only specific keys fail while others work perfectly, the problem is internal.
For wireless mechanical keyboards, check the battery level and Bluetooth or 2.4GHz dongle connection. Low battery can cause erratic key behavior. Re-pair the keyboard to your device and test again. A simple re-pair often clears communication glitches between the keyboard and receiver.
Remove Keycaps and Inspect the Switches
Once you have ruled out cable issues, it is time to look inside. Use a keycap puller to gently remove the keycaps from the affected keys. Pull straight up with even pressure to avoid damaging the switch stem or keycap mount.
With the keycaps off, visually inspect the exposed switches. Look for visible dust, hair, crumbs, or dried liquid residue around and inside the switch housing. Even a tiny particle lodged between the stem and housing can prevent the switch from actuating fully.
Check if the switch stem moves freely when you press it with your finger. It should travel down smoothly and spring back up without sticking. If the stem feels gritty, sluggish, or stuck, debris is likely trapped inside. If the stem moves fine but the key still does not register, the problem may be electrical rather than mechanical.
Also inspect the switch housing for cracks or visible damage. A cracked housing can misalign the internal contact leaf, causing it to miss the metal contact point during a keystroke. Damaged housings typically require a full switch replacement.
Clean the Switches Thoroughly
Cleaning is the single most effective fix for switches that stop registering. Dust and grime build up over time and interfere with the tiny metal contacts inside each switch. Start by using a can of compressed air to blast debris out from around and inside the switch.
For a deeper clean, dip a cotton swab in 90% or higher isopropyl alcohol and carefully clean around the switch stem and housing. The alcohol dissolves oils, sticky residue, and grime without leaving moisture that could damage electronics. Avoid using water or household cleaners.
If the switch is still unresponsive after external cleaning, you can try flooding the switch with a small amount of isopropyl alcohol while rapidly pressing the stem up and down. This helps the alcohol reach the internal contact points and dissolve any buildup on them. Let the switch dry completely for at least 30 minutes before testing.
For keyboards with removable switches, consider opening the switch housing with a switch opener tool. This gives you direct access to the contact leaf and metal contacts inside. Wipe these components gently with an alcohol-dampened cloth. Reassemble the switch and test it. This method has a high success rate for fixing registration issues caused by oxidation or debris on the contacts.
Fix Bent or Damaged Switch Pins
Bent pins are a frequent cause of registration failure, especially on hot swappable keyboards. When you insert a switch into a hot swap socket, the two metal pins on the bottom of the switch must align perfectly with the socket holes. If a pin bends during insertion, it will not make electrical contact with the PCB.
Pull out the switch using a switch puller tool and examine the pins on the bottom. The pins should be straight and parallel. If one is bent to the side or curled under the switch body, use fine-tipped tweezers or needle-nose pliers to gently straighten it. Apply slow, steady pressure to avoid snapping the pin off entirely.
After straightening, reinsert the switch carefully. Align the pins with the socket holes before applying any downward pressure. A common technique is to insert the pins into the holes first and then press the switch body down. This prevents the pins from buckling.
If a pin breaks off during straightening, the switch is no longer usable. You will need to replace it with a new switch. Keep a few spare switches on hand for situations like this. Broken pins cannot be reliably repaired at home.
Reseat the Switches on Hot Swappable Boards
On hot swappable keyboards, switches can sometimes lose proper contact with the PCB sockets over time. Vibrations from typing, temperature changes, or simply moving the keyboard can cause a switch to shift slightly in its socket.
The fix is simple. Pull the switch out using a switch puller, inspect the pins, and push it back in firmly. Make sure you hear or feel a solid click when the switch seats fully into the socket. A partially seated switch will have intermittent or no registration.
While the switch is out, inspect the hot swap socket on the PCB. Look for bent socket pins, debris inside the socket holes, or any visible damage. Use compressed air to blow out any particles from the socket. If a socket pin is bent, you can gently straighten it with a thin tool like a toothpick or the tip of a ballpoint pen.
Test the key immediately after reseating. If it works, the problem was simply a loose connection. If it still fails, the switch itself may be faulty and should be replaced with a new one. Hot swap sockets make this process fast and tool-free beyond a basic switch puller.
Replace Faulty Switches Entirely
If cleaning and reseating do not solve the problem, the switch itself is likely dead. Mechanical switches are rated for 50 to 100 million keystrokes, but heavy use, manufacturing defects, or liquid damage can shorten their lifespan significantly.
On hot swappable keyboards, replacement is straightforward. Pull the old switch out and push a new one in. Make sure the replacement switch is compatible with your keyboard’s socket type. Most boards use either MX-style 3-pin or 5-pin switches. If your board has 3-pin sockets and you have 5-pin switches, you can clip the two extra plastic legs with flush cutters.
On soldered keyboards, replacement requires more skill. You will need a soldering iron and a desoldering pump or desoldering wick to remove the old switch. Heat each solder joint, remove the solder, and pull the switch out. Then insert the new switch, align its pins through the PCB holes, and solder them in place.
If you are not comfortable soldering, many local electronics repair shops or keyboard communities offer switch replacement services for a small fee. Attempting to desolder without experience can damage the PCB pads, which creates a much bigger and more expensive problem.
Update or Reset Your Keyboard Firmware
Firmware controls how your keyboard processes keystrokes. A corrupted or outdated firmware can cause specific keys to stop registering, produce ghost inputs, or behave erratically. Many keyboard manufacturers release firmware updates that fix bugs and improve performance.
Visit your keyboard manufacturer’s website and check for the latest firmware version for your specific model. Download the update file and follow the provided instructions. Most updates involve connecting the keyboard via USB, running an update tool, and waiting for the process to complete.
If a firmware update is not available or does not help, try a factory reset. Many keyboards have a reset key combination listed in their manual. For example, some boards reset when you hold specific keys while plugging in the USB cable. A factory reset clears all custom settings and restores the original firmware configuration.
For keyboards that run QMK or VIA firmware, you can reflash the firmware using QMK Toolbox. This open source tool lets you compile and flash custom firmware to your keyboard’s microcontroller. Reflashing can fix corrupted firmware that causes key registration failures.
Adjust Debounce Settings to Fix Ghost Inputs
Debounce is a firmware setting that tells the keyboard how long to wait after detecting a keypress before confirming it. This short delay filters out electrical noise from the switch contacts bouncing as they close. If the debounce time is too low, a single press may register multiple times. If it is too high, fast keypresses may not register at all.
Most keyboards ship with a default debounce time of 5 milliseconds. If your keys are double typing, try increasing the debounce value to 8 or 10 milliseconds. If keys feel sluggish or fail to register quick taps, try lowering the value.
You can adjust debounce settings through your keyboard’s configuration software. Keyboards running QMK firmware let you set a custom debounce value in the firmware code. VIA-compatible boards often expose debounce settings through the VIA graphical interface, making adjustments easy without coding.
After changing the debounce value, test the affected keys thoroughly. Type at your normal speed and check that every keypress registers exactly once. Finding the right debounce value may take a few rounds of adjustment, but it can permanently fix intermittent registration problems and double-typing issues.
Inspect the PCB for Damage
If none of the above fixes work, the printed circuit board itself may be damaged. A cracked solder joint, lifted pad, or broken trace on the PCB can sever the electrical connection for one or more switches.
Remove the switches and keycaps from the affected area. Look closely at the PCB under good lighting, or use a magnifying glass. Check the solder joints for each switch pin. A cold solder joint looks dull and grainy instead of smooth and shiny. Cracked joints may have visible hairline fractures.
If you find a bad solder joint, reflow it by applying heat from a soldering iron and adding a small amount of fresh solder. This restores the electrical connection. For a broken PCB trace, you can bridge the gap with a thin piece of wire soldered across the break.
If the damage is extensive or beyond your skill level, consider reaching out to a keyboard repair community online. Many enthusiasts offer repair services or can walk you through the process. A damaged PCB does not always mean the keyboard is a lost cause, but it does require more advanced repair techniques.
Check for Software and Driver Conflicts
Occasionally, the problem is not the hardware at all. A software conflict on your computer can make it seem like switches are not registering. Outdated keyboard drivers, conflicting key remapping software, or a buggy operating system update can all interfere with key input.
Open your computer’s Device Manager on Windows or System Information on macOS. Find your keyboard in the list and check for any warning icons. Try uninstalling the keyboard driver and restarting your computer. The operating system will reinstall a fresh driver automatically on reboot.
If you use key remapping software like AutoHotkey, SharpKeys, or Karabiner Elements, disable it temporarily. These programs can inadvertently block or remap keys in ways that make them appear non-functional. Test the keyboard with all remapping software turned off.
Also check if the keyboard works in your computer’s BIOS or UEFI menu. Restart your computer and enter the BIOS by pressing the appropriate key during boot. If all keys work in the BIOS but not in your operating system, the problem is definitely software related. A clean driver installation or operating system update will likely fix it.
Prevent Switch Registration Problems in the Future
Prevention is always easier than repair. Regular maintenance keeps your switches clean and functional for years. Use compressed air to blow out your keyboard at least once a month. Wipe the surface with a microfiber cloth weekly to prevent dust from settling into the switches.
Avoid eating and drinking near your keyboard. Crumbs fall between keycaps, and liquid spills are one of the most common causes of permanent switch damage. Even a small drop of coffee can corrode the metal contacts inside a switch over time.
When installing switches on a hot swappable board, always check pin alignment before pressing down. Hold the switch at eye level and confirm that both pins are straight. Insert the pins into the socket holes first, then push the body down. This simple habit prevents most bent pin issues.
Consider using a keyboard dust cover when the board is not in use. Covers block dust, pet hair, and airborne particles from settling into the switches. Store your keyboard in a dry, room temperature environment. Excessive humidity can cause oxidation on switch contacts, which leads to registration failures over time.
Finally, update your firmware periodically. Manufacturers release updates that improve switch scanning algorithms, fix detection bugs, and optimize debounce behavior. Staying current on firmware keeps your keyboard performing at its best.
Frequently Asked Questions
Why did my mechanical keyboard switch suddenly stop working?
The most common reason is dust or debris lodged inside the switch. Over time, tiny particles accumulate under the keycap and inside the switch housing. These particles block the metal contacts from touching during a keystroke. A quick cleaning with compressed air and isopropyl alcohol fixes this problem in most cases. Other causes include bent pins, a loose USB connection, or a firmware glitch.
Can I fix a non-registering switch without replacing it?
Yes, in many cases. Start by removing the keycap and cleaning the switch with compressed air and isopropyl alcohol. If that does not work, try reseating the switch on a hot swappable board. You can also adjust debounce settings in the firmware to resolve intermittent registration failures. Only replace the switch if cleaning, reseating, and firmware adjustments all fail.
How do I know if my keyboard is hot swappable?
Check the product specifications on the manufacturer’s website or the original packaging. Hot swappable keyboards allow you to pull switches out without soldering. You can test this by gently pulling up on a switch with a switch puller. If it pops out cleanly without resistance from solder, your board is hot swappable. If it feels firmly fixed and does not budge, the switches are soldered.
What tools do I need to fix a mechanical keyboard switch?
For basic troubleshooting, you need a keycap puller, a switch puller (for hot swappable boards), compressed air, 90% isopropyl alcohol, cotton swabs, and fine-tipped tweezers. For soldered keyboards, you will also need a soldering iron, desoldering pump or wick, and replacement solder. A magnifying glass helps when inspecting PCB solder joints.
How often should I clean my mechanical keyboard to prevent switch problems?
A light cleaning with compressed air every two to four weeks is a good baseline. Do a deeper clean with keycap removal and isopropyl alcohol every three to six months. If you use your keyboard in a dusty environment or eat at your desk frequently, increase the cleaning frequency. Regular cleaning is the most effective way to prevent switch registration failures.
Can a firmware update fix switches that are not registering?
Yes, firmware updates can resolve certain types of registration failures. If the issue is caused by a bug in the key scanning algorithm or an incorrect debounce setting, a firmware update or manual debounce adjustment can fix it. However, firmware cannot fix physical problems like bent pins, debris inside a switch, or a cracked PCB trace. Always try a firmware update as part of your troubleshooting process, but do not rely on it as the sole solution.
Hi, I’m Simmy — the creator and writer behind ScaleMyPic.com. I’m a tech enthusiast who loves breaking down complex products into simple, honest reviews and guides. My goal? To help you make smarter tech decisions without the confusion. Got a question? Feel free to reach out!