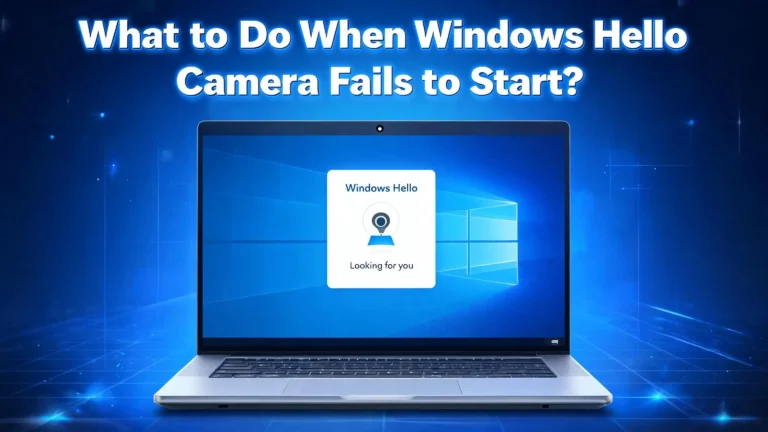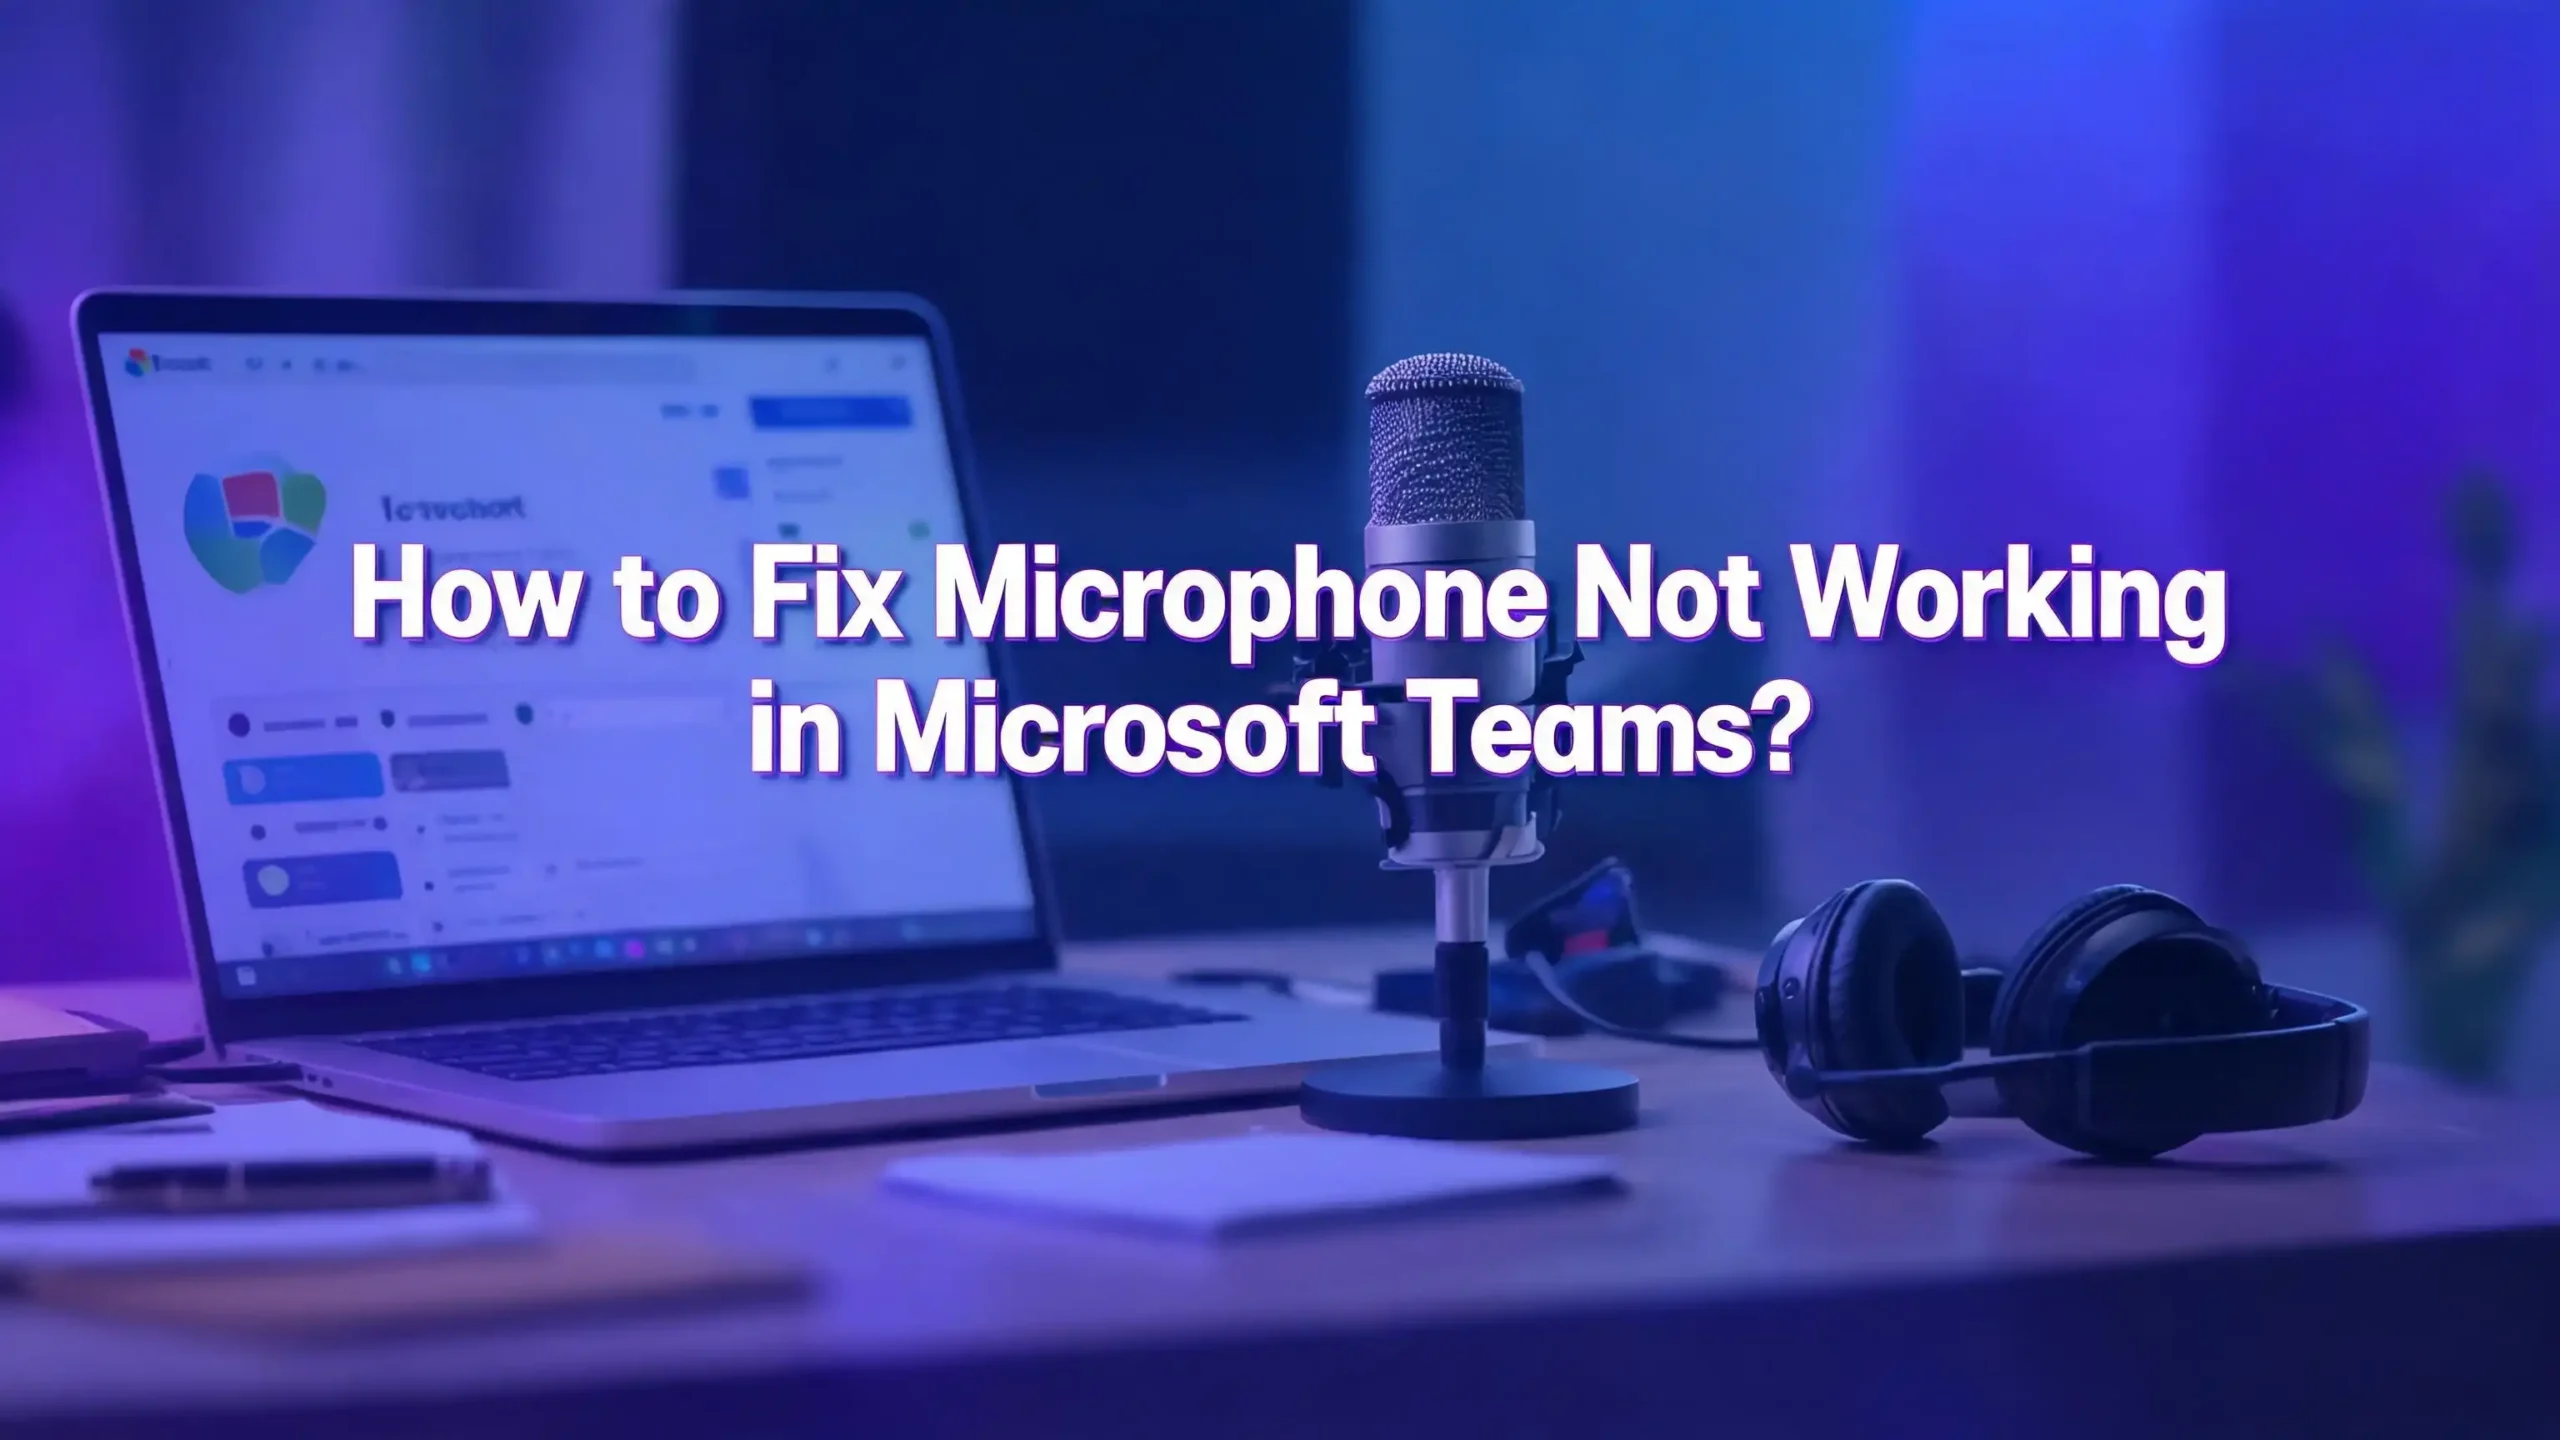
How to Fix Microphone Not Working in Microsoft Teams?
You just joined an important Microsoft Teams meeting. You start talking, but nobody can hear you. Your microphone icon looks fine, your colleagues are staring blankly, and panic sets in. This is one of the most common and frustrating problems Teams users face every single day.
A broken microphone in Microsoft Teams can derail your meetings, delay projects, and leave you scrambling for answers. The good news? This problem almost always has a simple fix. The cause could be a muted button you overlooked, a privacy setting buried deep in your system, an outdated driver, or a conflicting app running in the background.
This guide walks you through every possible fix for the Teams microphone problem. Each solution includes clear, step by step instructions for Windows, Mac, and even web browser users.
In a Nutshell
- Check your mute button first. The most common reason people cannot be heard in Teams is a muted microphone. Look at the mic icon in your meeting controls and check for any physical mute switch on your headset or device.
- Verify Teams has permission to use your microphone. Both Windows and macOS require you to grant microphone access to apps. If this setting is turned off, Teams cannot detect your mic at all.
- Select the correct audio input device in Teams settings. Teams may default to the wrong microphone, especially if you have multiple audio devices connected. Go to Settings, then Devices, and pick the right one from the dropdown.
- Update your audio drivers and the Teams app. Outdated microphone drivers and older versions of Teams cause frequent compatibility problems. A quick update often resolves the issue instantly.
- Clear the Teams cache if nothing else works. Corrupted cache files can cause all sorts of audio glitches. Deleting the cache folder and restarting Teams gives you a fresh start without losing your data.
- Test your microphone outside of Teams. Use your system sound settings to confirm the mic works on its own. If it fails there too, the problem is with your hardware or OS, not with Teams.
Confirm You Are Not Muted in Teams
This might sound obvious, but it is the number one reason people think their microphone is broken. During a Teams call, look at the meeting toolbar at the bottom of your screen. The microphone icon should not have a line through it.
If the icon shows a diagonal line, you are on mute. Click the icon once to unmute yourself. You can also press Ctrl + Shift + M on Windows or Command + Shift + M on Mac to toggle mute quickly.
Many headsets also have a physical mute button or switch. Some headset models mute the mic when you flip the boom arm upward. Check your headset manual if you are unsure. A small LED light on some devices turns red when muted.
Another common scenario is that a meeting organizer has muted all participants. In this case, you will see a prompt asking you to unmute. Click the unmute button in the notification to start speaking. If the organizer has disabled attendee unmuting, you will need to use the “raise hand” feature and wait for permission.
Always start your troubleshooting here. It takes five seconds and solves the problem more often than you would expect.
Select the Correct Microphone Device in Teams
Teams can only use one audio input device at a time. If you have multiple microphones connected, such as a webcam mic, a headset, and your laptop’s built in mic, Teams might pick the wrong one.
To fix this before a meeting, open Teams and click the three dot menu near your profile picture. Select Settings, then click Devices. Under the Audio settings section, you will see a dropdown labeled Microphone. Click it and choose the device you actually want to use.
To verify your choice, click Make a test call. Teams will connect you to a bot that records a short message and plays it back. If you hear your own voice clearly, the microphone is working.
You can also switch microphones during a live meeting. Click the dropdown arrow next to the microphone icon in the meeting toolbar. Select More audio settings and pick the correct device. This change takes effect immediately.
If your preferred microphone does not appear in the dropdown list, it may not be connected properly. Unplug the device and plug it back in. For Bluetooth devices, make sure the headset is charged, paired, and not connected to another device like your phone.
Grant Microphone Permission on Windows
Windows has a privacy setting that controls which apps can access your microphone. If this setting is off for Teams, your mic will not work regardless of other configurations.
Open the Settings app by pressing Windows + I. Click on Privacy and Security in the left sidebar. Then click Microphone under App permissions.
First, make sure the Microphone access toggle at the top is turned on. Next, turn on Let apps access your microphone. Scroll down and find Microsoft Teams (work or school) in the list. Make sure its toggle is also turned on.
There is one more critical setting at the bottom of this page. Look for Let desktop apps access your microphone and turn it on. This setting is easy to miss, and it blocks many desktop applications from using the mic.
If all these toggles were already enabled, try turning them off and then back on again. This forces Windows to refresh the permissions. After making changes, close all apps and restart your computer before testing Teams again.
For Windows 10 users, the path is similar. Go to Settings, then Privacy, then Microphone. The toggle names are slightly different, but the process is the same.
Grant Microphone Permission on macOS
Mac computers have their own set of privacy controls that can block Teams from accessing your microphone. These settings live in a different location than Windows.
On macOS Ventura or later, open System Settings from the Apple menu. Click Privacy and Security in the sidebar. Then click Microphone. You will see a list of apps that have requested microphone access. Make sure the toggle next to Microsoft Teams is turned on.
On older macOS versions, open System Preferences from the Apple menu. Click Security and Privacy. Select the Privacy tab at the top. Click Microphone in the left sidebar. Check the box next to Microsoft Teams.
If Teams does not appear in the list at all, you may need to remove and reinstall the app. After reinstalling, Teams will ask for microphone permission the first time you join a call. Click Allow when this prompt appears. If you accidentally clicked “Don’t Allow,” you will need to go into the settings manually and enable it.
After changing permissions, quit Teams completely and reopen it. On Mac, closing the window does not fully quit the app. Right click the Teams icon in the Dock and select Quit to make sure it shuts down properly. Then launch it again and test your microphone.
Fix Browser Microphone Settings for Teams Web
If you use Teams in a web browser instead of the desktop app, your browser controls microphone access separately. Each browser handles this a bit differently.
In Google Chrome, click the three dot menu in the top right corner. Go to Settings, then Privacy and security, then Site settings, then Microphone. Make sure Sites can ask to use your microphone is selected. Also check that teams.microsoft.com is not listed under blocked sites. If it is, click the site name and change the permission to Allow.
In Microsoft Edge, go to Settings, then Cookies and site permissions, then Microphone. Turn on the Ask before accessing toggle. If Teams is blocked, remove it from the blocked list and refresh the Teams page.
In Safari on Mac, open Preferences from the Safari menu. Click the Websites tab. Select Microphone from the left sidebar. Find the Teams website in the list and set the permission to Allow or Ask.
When you first visit Teams in your browser, a pop up permission prompt appears asking for microphone access. If you dismissed this prompt, Teams cannot use your mic. Changing the settings manually as described above will fix this.
After updating browser permissions, refresh the Teams web page completely. Press Ctrl + Shift + R on Windows or Command + Shift + R on Mac to do a hard refresh.
Check Windows Sound Settings
Even if Teams has the right permissions, your Windows sound settings might be configured incorrectly. The microphone could be disabled, set to very low volume, or not selected as the default input device.
Open Settings by pressing Windows + I. Click System, then Sound. Scroll down to the Input section. Under Choose a device for speaking or recording, select your microphone from the list.
Next, check the Volume slider next to your input device. If it is set to zero or very low, drag it up to at least 75%. A mic set to low volume can seem like it is not working at all.
Click on your microphone device to open its properties page. Look for Microphone test and click Start test. Speak into your mic at a normal volume. Click Stop test and then Play to hear the recording. If the audio sounds clear, your mic is working fine at the system level.
If your microphone does not appear in the input device list, it might be disabled. Go to Advanced at the bottom of the Sound settings page and click More sound settings. In the window that opens, click the Recording tab. Right click anywhere in the list and check Show Disabled Devices. If your mic appears grayed out, right click it and select Enable.
Update Your Audio Drivers
Outdated or corrupted audio drivers are a frequent cause of microphone problems. This is especially common after a major Windows update, such as the upgrade to Windows 11 24H2.
To update your drivers, right click the Start button and select Device Manager. Expand the section labeled Audio inputs and outputs. Right click your microphone device and select Update driver. Choose Search automatically for drivers and let Windows find the latest version.
If the automatic search finds nothing new, visit your computer manufacturer’s website and download the latest audio driver for your specific model. Install it manually and restart your computer.
In some cases, you may need to uninstall the driver completely and let Windows reinstall it fresh. In Device Manager, right click the mic and select Uninstall device. Check the box that says Attempt to remove the driver for this device. Click Uninstall, then restart your PC. Windows will automatically detect the hardware and install a fresh driver.
Also expand Sound, video and game controllers in Device Manager. Update or reinstall any Realtek or other audio controller drivers listed there. Conflicts between the Realtek driver and Teams noise cancellation features have caused mic issues for many users.
Clear the Microsoft Teams Cache
Over time, Teams stores temporary files and cached data that can become corrupted. A corrupted cache can cause audio devices to behave unpredictably, including making your microphone stop working.
On Windows, close Teams completely first. Right click the Teams icon in the system tray and select Quit. Then press Windows + R to open the Run dialog. Type the following path and press Enter:
%appdata%\Microsoft\Teams
Delete all files and folders inside this directory. Do not worry about losing your messages or files. Teams stores your data in the cloud, so everything will sync back when you sign in again.
On macOS, quit Teams fully. Open Finder and press Command + Shift + G. Type the following path:
~/Library/Application Support/Microsoft/Teams
Delete the contents of this folder.
After clearing the cache, restart your computer and open Teams. Sign in with your credentials. Teams will rebuild its cache from scratch. Test your microphone by making a test call or joining a meeting. Many users report that this step alone fixes persistent audio problems.
Run the Windows Audio Troubleshooter
Windows has a built in troubleshooter that can automatically detect and fix common audio problems. This tool checks your settings, drivers, and services for anything that might block your microphone.
Open Settings and go to System, then Sound. Scroll down to the Advanced section. Click on Input devices under Troubleshoot common sound problems. The troubleshooter will scan your system and suggest fixes.
Follow the on screen instructions. The tool may reset audio services, change default devices, or adjust driver settings. After the troubleshooter finishes, restart your computer and test Teams again.
You can also access the troubleshooter by clicking All sound devices under the Advanced section. Select your microphone from the list and run the diagnostic from there.
This tool does not fix every problem, but it catches configuration errors that are easy to overlook. It is worth running before you move on to more advanced solutions like reinstalling Teams or resetting your operating system’s audio stack.
Close Conflicting Background Apps
Other applications on your computer can lock your microphone and prevent Teams from accessing it. Communication apps like Zoom, Skype, Discord, and WebEx are common culprits.
When two apps try to use the same microphone at once, one of them will fail. Teams may show an error message or simply transmit silence. Check your system tray (the small icons near the clock on Windows) for any running communication apps. Right click each one and quit it completely.
On Mac, check the menu bar at the top of the screen for icons belonging to other audio apps. Also open Activity Monitor and search for processes related to Zoom, Skype, or other voice apps. Select them and click the X button to force quit.
Recording software like OBS Studio, Audacity, or voice changers can also interfere. These apps sometimes take exclusive control of the microphone. Close them before joining a Teams meeting.
After closing all potential conflicts, restart Teams and test your mic. If you regularly use multiple communication apps, consider setting each one to use a different audio input device to avoid conflicts in the future.
Update Microsoft Teams to the Latest Version
Running an outdated version of Teams can cause microphone issues, especially if Microsoft has released a fix for a known audio bug. Teams usually updates automatically, but the update process can sometimes stall.
In the Teams desktop app, click the three dot menu next to your profile picture. Select Check for updates. Teams will search for and install any available updates. You will see a message when the update is ready. Restart Teams to apply the changes.
If the update fails or gets stuck, try reinstalling Teams entirely. On Windows, go to Settings, then Apps, then Installed apps. Find Microsoft Teams and click Uninstall. Download the latest version from the official Microsoft Teams website and install it.
On Mac, drag the Teams app to the Trash from your Applications folder. Then empty the Trash. Download the fresh installer from Microsoft’s website and install it again.
After reinstalling, remember to check your device settings and permissions again. A fresh installation resets your preferences, so you will need to select the correct microphone in Settings and grant permissions once more.
Adjust Microphone Enhancements and Noise Suppression
Teams has a built in noise suppression feature that filters background sounds during calls. In rare cases, this feature can interfere with your microphone signal and make it seem like the mic is not working.
During a meeting, click the three dot menu in the meeting toolbar. Select Settings, then Device settings. Look for the Noise suppression dropdown. Try changing it from High to Low or Off to see if your mic starts working.
Windows also applies its own audio enhancements that can conflict with Teams. Go to Settings, then System, then Sound. Click on your input device. Under Audio enhancements, select Off if it is currently enabled.
Some Realtek audio drivers add their own noise cancellation layer on top of the Teams feature. This double filtering can cause the mic to cut out or transmit very quietly. Open the Realtek Audio Console from your Start menu and disable any microphone enhancement or noise reduction features.
Test your mic after each change to identify which setting was causing the conflict. Once you find the right combination, your microphone should work reliably.
Use Your Phone as a Backup Audio Device
If none of the fixes above solve your problem and you need to join a meeting right now, Teams offers a quick workaround. You can use your phone’s microphone while staying connected to the meeting on your computer.
Teams provides a Call me back option in some meeting configurations. When you see an audio error message before joining, look for the Call me back button. Enter your phone number and Teams will call you. Your audio will route through your phone while screen sharing and chat remain on your desktop.
Alternatively, you can join the same meeting from the Teams mobile app on your phone. Use your phone for audio and your computer for viewing shared screens and presentations. Make sure to mute the mic on your computer to avoid echo.
This is not a permanent fix, but it saves you from missing critical meetings while you troubleshoot the computer microphone. It works well with any phone that has the Teams app installed.
Reinstall Audio Drivers and Reset Sound Services
If you have tried everything else and your microphone still does not work in Teams, a deeper reset of your audio system may be necessary.
Open Services on Windows by pressing Windows + R, typing services.msc, and pressing Enter. Find Windows Audio in the list. Right click it and select Restart. Do the same for Windows Audio Endpoint Builder. These two services control all audio functions on your computer.
Next, go to Device Manager and uninstall all devices under both Audio inputs and outputs and Sound, video and game controllers. Check the box to remove driver software for each one. Restart your computer after removing everything.
Windows will detect your audio hardware during startup and install fresh drivers automatically. If it does not, open Device Manager again, right click the top item (your computer name), and select Scan for hardware changes.
After the reinstall, test your microphone in Windows Sound settings first. Confirm it works at the system level. Then open Teams, select the correct device in Settings, and make a test call.
This process takes more time but effectively eliminates any driver corruption or configuration errors that built up over time. It gives your audio system a completely clean start.
Frequently Asked Questions
Why does my microphone work in other apps but not in Microsoft Teams?
This usually means Teams does not have the correct microphone permissions on your device. Go to your privacy settings on Windows or Mac and make sure Teams is allowed to access the microphone. Also check that the correct input device is selected inside Teams under Settings and Devices. Sometimes Teams defaults to a device that is not your active microphone.
How do I test my microphone before a Teams meeting?
Open Teams and go to Settings, then Devices. Click the Make a test call button. Teams will connect you to a bot that asks you to record a short message. The bot plays the message back so you can hear how you sound. This feature confirms that both your microphone and speakers are working correctly before you join a real meeting.
Why does my Teams microphone cut out during calls?
Intermittent microphone issues often result from Bluetooth connection problems, low battery on wireless headsets, or conflicting noise suppression settings. Make sure your Bluetooth device is fully charged and close to your computer. Also try turning off noise suppression in Teams and disabling audio enhancements in your Windows sound settings.
Can I use my phone microphone for a Teams meeting on my computer?
Yes. You can join the same meeting from both your computer and the Teams mobile app on your phone. Use your phone for audio input and your computer for viewing content. Alternatively, some Teams meetings offer a Call me back feature that dials your phone number and connects your phone audio to the meeting automatically.
Does clearing the Teams cache delete my messages and files?
No. Clearing the Teams cache only removes temporary local files stored on your device. All your messages, files, meeting history, and contacts are saved in the cloud. After you clear the cache and restart Teams, everything syncs back automatically. This process is safe and often fixes persistent audio and performance issues.
Why does Teams say “Your microphone isn’t working” even though it works elsewhere?
This error message appears when Teams cannot detect audio input from the selected device. The most common causes include incorrect device selection in Teams settings, blocked privacy permissions, or another app using the microphone exclusively. Follow the steps in this guide to check your device selection, update permissions, and close conflicting apps.
Hi, I’m Simmy — the creator and writer behind ScaleMyPic.com. I’m a tech enthusiast who loves breaking down complex products into simple, honest reviews and guides. My goal? To help you make smarter tech decisions without the confusion. Got a question? Feel free to reach out!