How To Sync Brainwave Sleep Trackers With Smart Lighting?
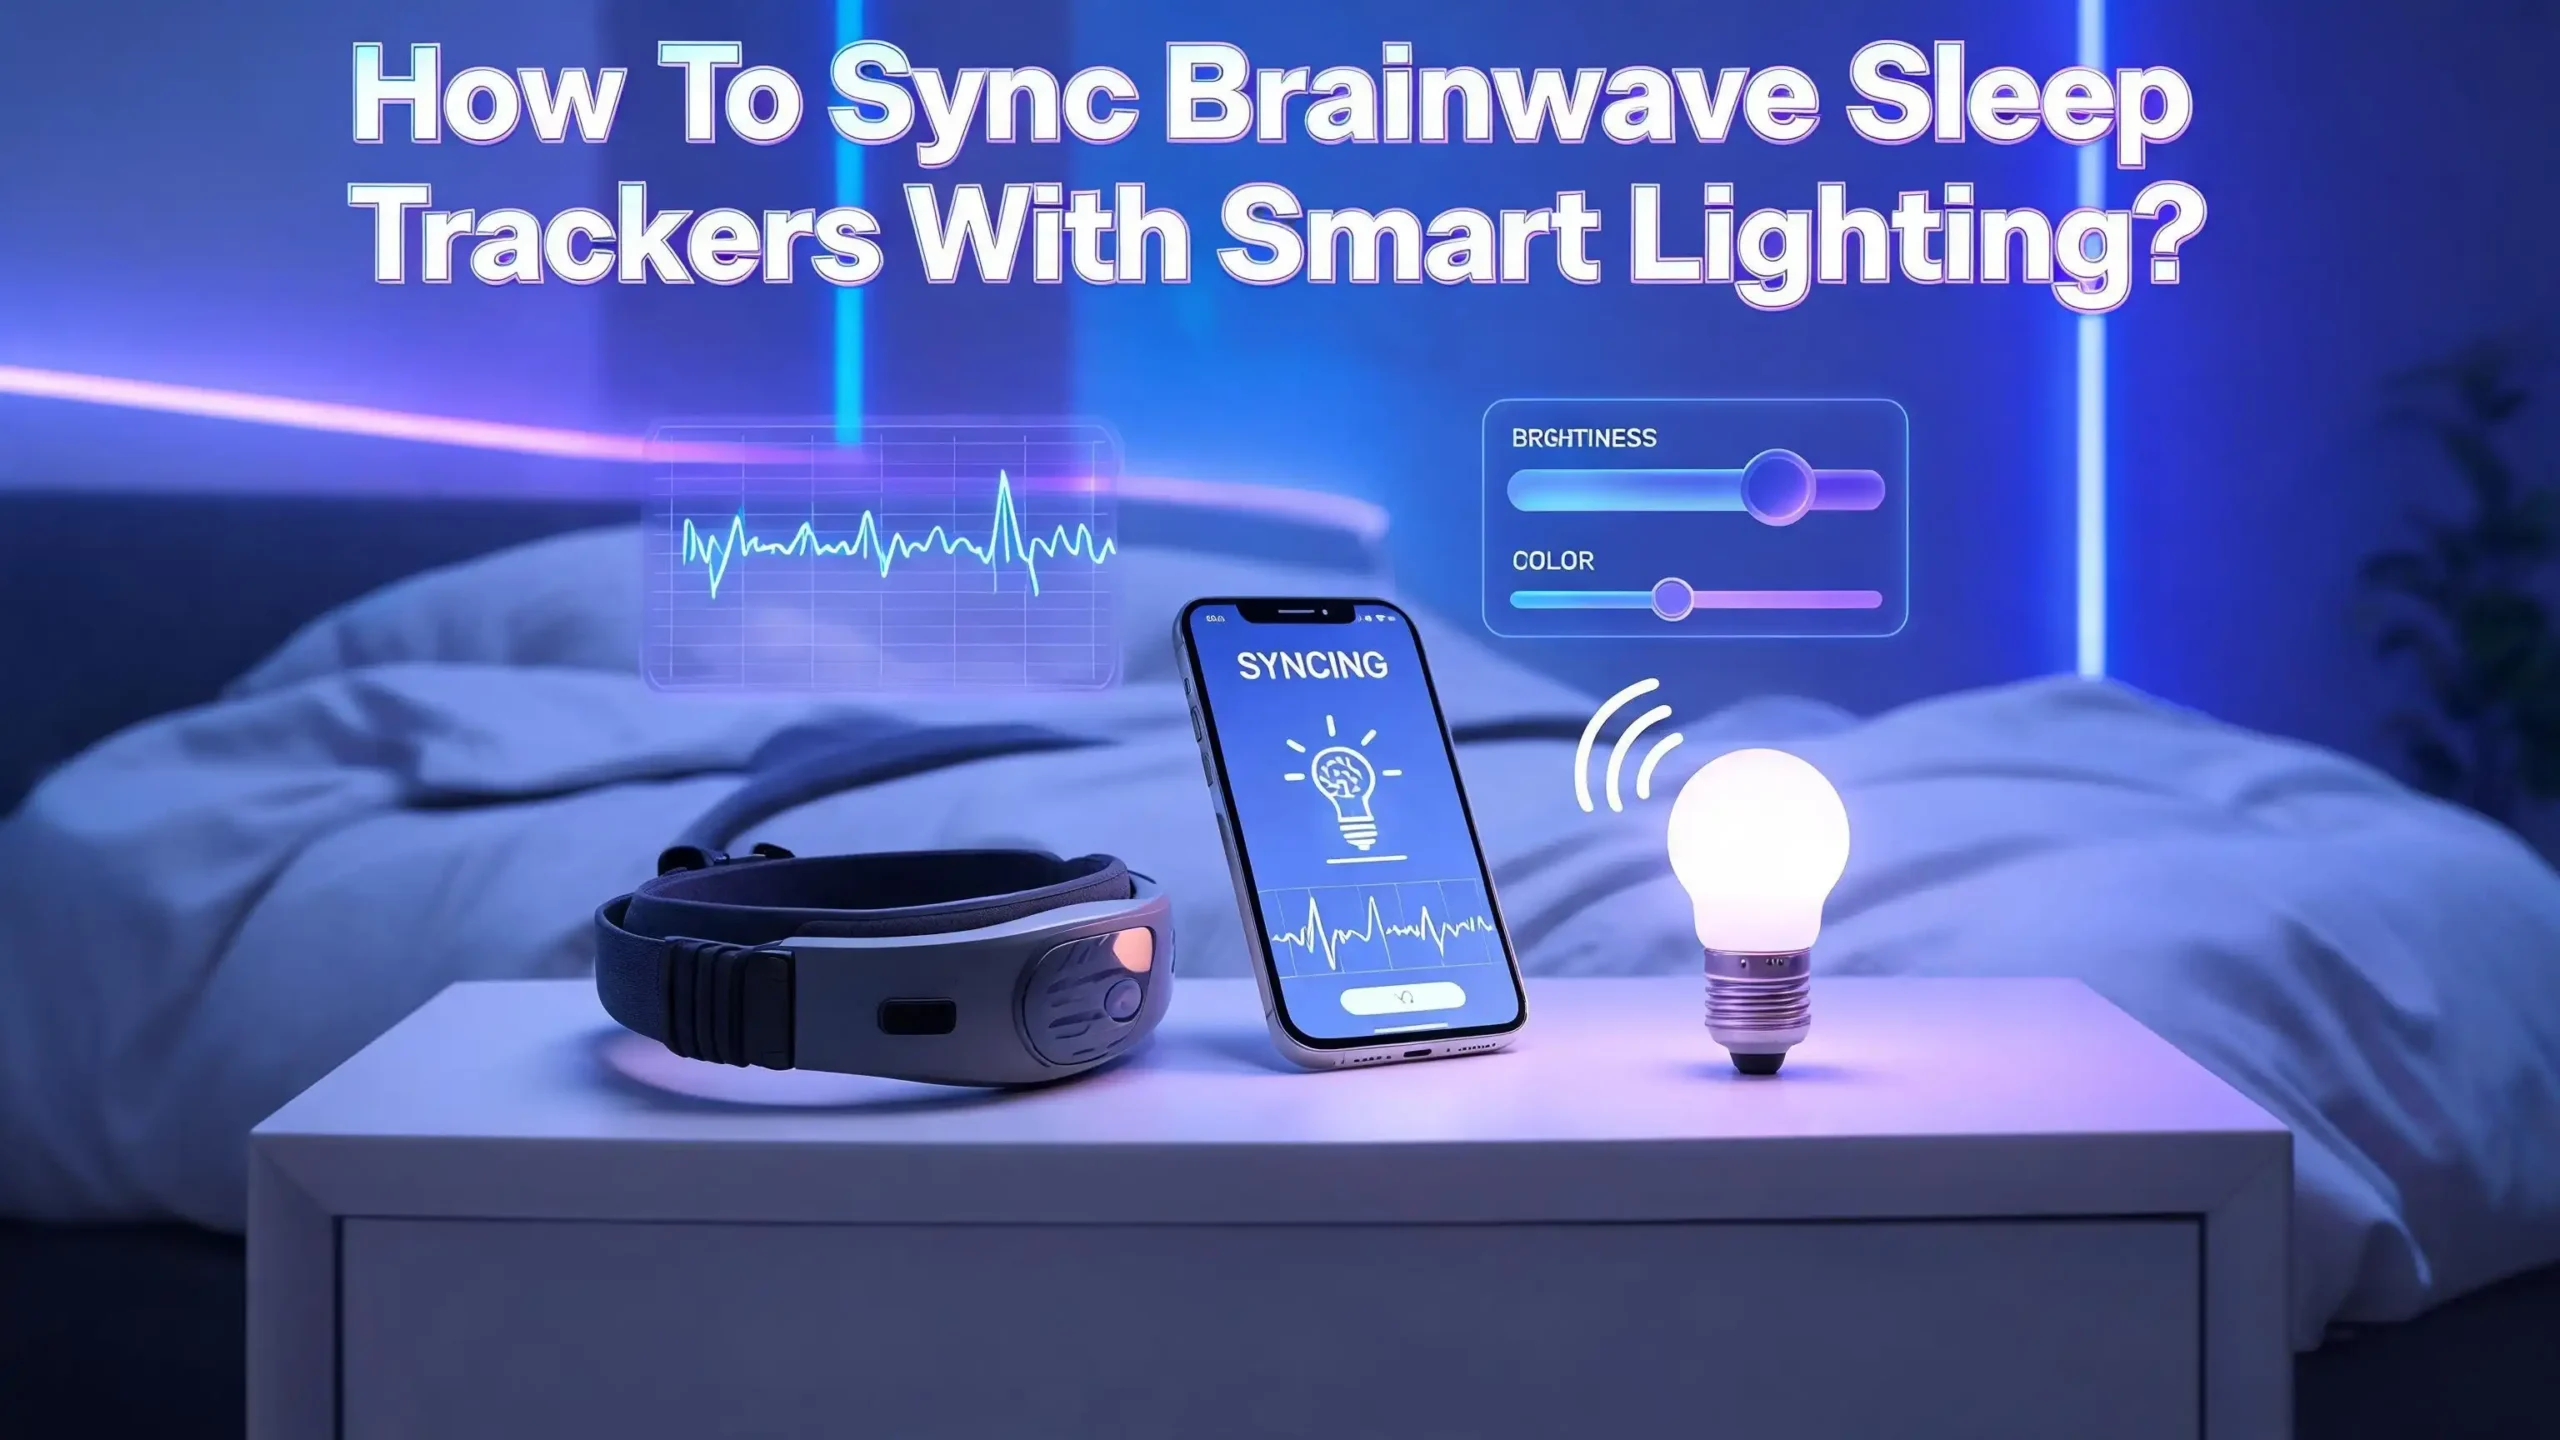
You wear a brainwave sleep tracker every night. You also have smart lights in your bedroom. But have you ever thought about connecting the two so they work together? Imagine your lights automatically dimming to a warm amber glow the moment your tracker detects you are falling asleep.
The problem is that most people buy these devices separately and never connect them. They miss out on the biggest benefit: a bedroom that reacts to your sleep in real time. The good news is that syncing these devices is easier than you think. You do not need coding skills. You do not need expensive hubs. You just need the right steps and a clear plan.
This guide gives you that plan. Every section below walks you through a specific part of the process with clear, actionable instructions. By the end, you will have a sleep environment that responds to your brain activity and supports your body’s natural sleep cycle through light.
In a Nutshell
- Brainwave sleep trackers use EEG sensors to read your brain’s electrical activity during sleep. They detect stages like deep sleep, REM sleep, and light sleep with much higher accuracy than wrist or ring trackers.
- Smart lights can shift color temperature and brightness on command. Warm tones (around 2700K) support melatonin production at night. Cool tones (5000K and above) help you wake up and feel alert in the morning.
- Automation platforms like Home Assistant and IFTTT serve as the bridge between your sleep tracker and your smart lights. They receive sleep events (like “fell asleep” or “woke up”) and trigger light changes automatically.
- You do not need advanced technical skills to set this up. Most connections use simple “if this, then that” logic. If the tracker says you are asleep, the lights turn off. If it detects your alarm window, the lights slowly brighten.
- Circadian rhythm alignment is the real payoff. Syncing your lights with your sleep data trains your body to fall asleep faster and wake up more naturally. Research from the National Institutes of Health confirms that light exposure is a strong driver of circadian rhythm regulation.
- The setup works best with Wi Fi enabled smart bulbs and a sleep tracker that shares data through an app with automation support or an open API.
What Are Brainwave Sleep Trackers and How Do They Work
Brainwave sleep trackers are wearable devices that use electroencephalography (EEG) to measure the electrical signals your brain produces during sleep. These signals change based on your current sleep stage. Delta waves appear during deep sleep. Theta waves show up in lighter sleep stages. Alpha waves occur as you relax before falling asleep.
EEG based trackers like the Muse S headband and similar devices place small sensors against your forehead. These sensors pick up microvolt level electrical signals from your brain’s surface. The tracker’s app then processes this data and identifies whether you are awake, in light sleep, deep sleep, or REM sleep.
This matters because traditional fitness trackers estimate sleep stages using heart rate and motion alone. They achieve roughly 75% accuracy compared to clinical sleep studies. EEG based devices reach 88% to 96% accuracy because they measure the actual source of sleep staging: your brain waves. That accuracy makes them far more useful as a trigger for smart home automation.
Most brainwave trackers send their data to a companion app on your phone. Some apps offer built in automation features. Others share data through APIs, webhooks, or third party services. That shared data is the foundation for connecting your tracker to your smart lights.
Why Smart Lighting Matters for Sleep Quality
Light is the strongest external signal your body uses to regulate its internal clock. This internal clock, called the circadian rhythm, controls when you feel sleepy and when you feel alert. Bright, blue rich light tells your brain it is daytime. Warm, dim light tells your brain night is coming.
Research published by the National Institutes of Health confirms that light exposure directly affects melatonin production. Blue light with wavelengths around 480 nanometers suppresses melatonin most effectively. This is the same type of light that standard white LED bulbs and phone screens emit.
Smart lights give you control over both brightness and color temperature. Color temperature is measured in Kelvin (K). Bulbs at 2700K produce a warm, amber glow similar to candlelight. Bulbs at 5000K to 6500K produce a cool, daylight white tone. By shifting your bedroom lights from cool to warm in the evening, you support your body’s natural melatonin release.
When you pair this ability with real time data from a brainwave tracker, your lights can respond to what your brain is actually doing. That is more effective than setting a fixed timer because your sleep timing varies from night to night.
What Smart Lights Work Best for Sleep Automation
Not all smart lights support the features you need for sleep automation. The two key features to look for are tunable white color temperature and compatibility with automation platforms.
Tunable white bulbs let you adjust the color temperature from warm (2700K) to cool (6500K). This range allows your automation system to shift the light from an energizing daylight tone to a sleep friendly amber tone. Some bulbs also offer millions of RGB colors, but the critical feature for sleep is the warm white range.
For automation compatibility, check that your bulb works with at least one of these platforms: Home Assistant, IFTTT, Apple HomeKit, Google Home, or SmartThings. Bulbs that use Wi Fi, Zigbee, or Matter protocols are the most flexible for automation. Bluetooth only bulbs have limited range and do not integrate well with most automation hubs.
Look for bulbs that support gradual brightness transitions rather than instant on and off switching. A slow fade from 100% brightness to 0% over 30 minutes feels natural and supports your brain’s transition into sleep. Some bulbs support this natively. Others require the automation platform to send repeated dimming commands over time.
How to Choose the Right Automation Platform
The automation platform is the software that connects your sleep tracker data to your smart light commands. Three main options exist for home users: Home Assistant, IFTTT, and native smart home apps.
Home Assistant is the most powerful option. It is a free, open source platform that runs on a small computer in your home. It supports hundreds of integrations, including sleep tracking apps like Sleep as Android. Home Assistant can receive real time sleep phase events such as “entered deep sleep” or “woke up” and trigger specific light scenes for each event.
IFTTT (If This Then That) is the easiest option for beginners. It connects apps and devices using simple trigger and action pairs. Services like Sleeptracker AI already have IFTTT integrations. You can create an applet that says “When sleep recording starts, turn off the bedroom lights.” The downside is that IFTTT is less precise and has a slight delay compared to Home Assistant.
Native smart home apps from Google, Apple, and Samsung offer basic automation. You can set time based lighting schedules and simple routines. However, they usually cannot receive live data from a sleep tracker. They work best as a supplement to your primary automation platform.
Choose Home Assistant if you want real time, stage specific lighting responses. Choose IFTTT if you want a quick setup with basic on and off triggers. Use native apps for time based schedules that support your tracker integration.
Step by Step: Connecting Your Sleep Tracker to Home Assistant
Home Assistant offers the deepest integration for brainwave sleep trackers. Here is how to set it up from scratch.
Step 1: Install Home Assistant on a dedicated device. A Raspberry Pi or an old laptop works well. Follow the official installation guide on the Home Assistant website. The process takes about 30 minutes.
Step 2: Add your smart lights to Home Assistant. Go to Settings, then Devices and Services, then Add Integration. Search for your light brand. Follow the on screen instructions to pair each bulb. Make sure every bedroom light appears in your dashboard.
Step 3: Install the sleep tracker integration. If you use Sleep as Android, go to Settings, then Devices and Services, then Add Integration, and search for “Sleep as Android.” The system will provide a webhook URL. Copy this URL.
Step 4: Open your sleep tracking app. Navigate to Settings, then Services, then Automation, then Webhooks. Enable webhooks and paste the URL from Home Assistant. This creates a live connection between the two systems.
Step 5: Create an automation. Go to Settings, then Automations, then Create Automation. Set the trigger to a sleep event like “not_awake” (fell asleep). Set the action to turn off bedroom lights or dim them to 5%. Save the automation.
Step 6: Test the automation by starting a sleep tracking session. Verify that your lights respond correctly. Adjust timing and brightness as needed.
Step by Step: Connecting Your Sleep Tracker to IFTTT
IFTTT provides a simpler path with fewer customization options. Here is the setup process.
Step 1: Create a free IFTTT account at ifttt.com. Download the IFTTT app on your phone as well. Log in on both devices.
Step 2: Connect your sleep tracker service. Search for your tracker in the IFTTT services list. Services like Sleeptracker AI have direct IFTTT integrations. Authorize the connection by logging into your tracker account through IFTTT.
Step 3: Connect your smart light service. Search for your light brand in IFTTT. Connect it by logging into your light account. Grant IFTTT permission to control your lights.
Step 4: Create a new applet. Tap “Create” in the IFTTT app. For the “If This” trigger, select your sleep tracker service. Choose an event like “Sleep recording starts.” For the “Then That” action, select your smart light service. Choose “Turn off lights” or “Set brightness to 10%.”
Step 5: Save the applet and enable it. Create a second applet for the morning: “When sleep recording stops, turn on lights to 80% brightness at 4000K.”
Step 6: Run a test night. Check your IFTTT activity log in the morning to confirm each trigger fired correctly. Adjust the light settings if the brightness or color temperature felt wrong.
The main limitation of IFTTT is that it cannot respond to specific sleep stages. It only reacts to broad events like tracking start, tracking stop, and alarm triggers. For stage specific automation, you will need Home Assistant.
Setting Up Circadian Rhythm Light Schedules
Even without real time sleep tracker triggers, a circadian light schedule provides significant sleep benefits. This schedule shifts your light color temperature throughout the day to match the sun’s natural pattern.
Morning (6:00 AM to 9:00 AM): Set lights to 5000K to 6500K at 80% to 100% brightness. This cool, bright light suppresses residual melatonin and helps you feel alert. Research shows that bright morning light exposure improves both mood and nighttime sleep quality.
Midday (9:00 AM to 5:00 PM): Maintain 4000K to 5000K at comfortable brightness. This neutral tone supports focus and productivity without excessive blue light exposure.
Evening (5:00 PM to 9:00 PM): Begin shifting to 3000K at 60% brightness. This warm transition signals to your brain that the day is winding down. Your body starts preparing for melatonin release.
Pre sleep (9:00 PM to bedtime): Drop to 2700K or lower at 20% to 30% brightness. This amber glow minimizes blue light exposure. It creates the ideal light environment for your body to produce melatonin freely.
Most smart light apps let you program these transitions as scheduled scenes. In Home Assistant, you can use the Adaptive Lighting custom component, which automatically adjusts color temperature and brightness based on the sun’s position throughout the day.
Creating Sleep Stage Specific Light Automations
This is where the real power of brainwave tracker integration shines. With a system like Home Assistant receiving live sleep phase data, you can create different light responses for each sleep stage.
When the tracker detects “fell asleep” (not_awake event): Turn off all bedroom lights completely. If you prefer a tiny amount of light for safety, set a floor level nightlight to 2% brightness at 2200K. This eliminates any light stimulation that could fragment your sleep.
When the tracker detects “deep sleep” (deep_sleep event): Ensure complete darkness. If any light is on, turn it off. Deep sleep is the most restorative phase, and even small amounts of ambient light can reduce its quality according to sleep research.
When the tracker detects “REM sleep” (rem event): Keep lights off. REM sleep is critical for memory consolidation and emotional processing. Light disruption during this phase can cause early awakening.
When the tracker detects “light sleep” near your alarm window: Begin a slow brightness ramp from 0% to 60% over 15 to 20 minutes. Set the color temperature to 4000K to 5000K. This simulates a natural sunrise and helps you wake during a lighter sleep phase, reducing morning grogginess.
When the tracker detects “awake” (awake event): Bring lights to full morning brightness at 5000K to 6500K. This sharp shift tells your brain definitively that it is time to be alert.
Use caution with deep sleep and light sleep triggers. As Home Assistant’s documentation notes, these events can fire multiple times per night. Add conditions to your automations to prevent lights from flickering on and off repeatedly.
How to Build a Smart Wake Up Routine With Sleep Data
A smart wake up routine is one of the most practical uses of syncing your brainwave tracker with smart lights. Instead of a jarring alarm at a fixed time, your system wakes you gently during a natural light sleep window.
Step 1: Set a wake up window in your sleep tracker app. Most apps let you define a range, such as 6:00 AM to 6:30 AM. The tracker will identify the lightest sleep phase within that window.
Step 2: In your automation platform, create a trigger for the “smart wake up period started” event. This event fires when the tracker enters the optimal wake up window and detects light sleep.
Step 3: Set the action to begin a gradual light increase. Start at 5% brightness and 2700K. Over 15 minutes, ramp up to 70% brightness and 5000K. This simulates a sunrise and coaxes your brain through the natural awakening process.
Step 4: Add a second automation triggered by the “alarm dismissed” event. Set this to bring lights to full brightness at 6000K immediately. This confirms to your circadian system that the day has started.
Step 5: Consider adding additional actions to your morning routine. You can trigger smart speakers to announce the weather, start a coffee maker, or play gentle music. These layered cues reinforce the wake signal and make your mornings more consistent.
Users who implement smart wake up routines commonly report less morning grogginess and a more stable energy level throughout the day. The key is the alignment between your brain’s natural light sleep phase and the light stimulation.
Troubleshooting Common Sync Issues
Connection problems between sleep trackers and smart lights are common. Here are the most frequent issues and their fixes.
Issue: Lights do not respond to sleep events. Check that the webhook URL in your sleep tracker app matches the one in your automation platform. A single mistyped character will break the connection. Also verify that both your phone and your automation hub are on the same Wi Fi network.
Issue: Automations fire with a long delay. IFTTT can have delays of 1 to 15 minutes. This is normal for cloud based services. If timing precision matters, switch to Home Assistant, which processes events locally with near instant response.
Issue: Lights turn on and off repeatedly during the night. Sleep phase events like deep sleep and light sleep can fire many times as your brain cycles through stages. Add a condition to your automation that checks the current time. For example, only allow the “turn off lights” automation to run between 9:00 PM and 6:00 AM, and prevent wake up lighting before 5:00 AM.
Issue: The tracker loses Bluetooth connection overnight. Keep your phone within 3 feet of the tracker. Close unnecessary apps that compete for Bluetooth bandwidth. Some trackers also support a “low power” Bluetooth mode that maintains a more stable connection.
Issue: Smart lights do not support low brightness levels. Some bulbs flicker or turn off below 10% brightness. Test each bulb’s minimum stable brightness and use that as your floor value in automations.
Privacy and Data Security Considerations
Syncing your sleep tracker with smart lights means your sleep data flows through at least one additional platform. It is important to understand where that data goes and how to protect it.
Home Assistant keeps everything local. All data stays on your home network. No sleep data is sent to external servers unless you choose to enable cloud access. This makes it the most private option for automation.
IFTTT routes data through its cloud servers. Your sleep events pass through IFTTT’s infrastructure to reach your light service. Review IFTTT’s privacy policy to understand how they handle and store this data. Use a strong, unique password for your IFTTT account and enable two factor authentication.
Sleep tracker apps themselves collect significant data. EEG based trackers record your brainwave patterns, sleep stages, and sleep duration. Review each app’s privacy settings and disable any data sharing features you are not comfortable with.
Smart light platforms also log activity. Each time your lights turn on or off, that event may be recorded by the light manufacturer’s cloud service. This data can reveal your sleep and wake schedule. Use local control protocols like Zigbee or Matter through a local hub to minimize cloud exposure.
A fully local setup using Home Assistant with Zigbee lights and a webhook based tracker connection gives you complete control over your data while maintaining full automation functionality.
Optimizing Your Setup Over Time
Your initial setup is just the starting point. The real benefits come from refining your automations based on weeks of data.
Review your sleep tracker’s reports after the first week. Look for patterns in your sleep latency (time to fall asleep). If it consistently takes you more than 20 minutes to fall asleep, try dimming your lights to 2200K and 10% brightness 30 minutes before your target bedtime instead of right at bedtime.
Check your wake up experience. If the sunrise simulation feels too sudden, extend the ramp time from 15 minutes to 25 minutes. If it feels too gradual and you sleep through it, increase the final brightness or add a cool white burst at the end.
Track your deep sleep percentages over time. If deep sleep improves after you eliminate all bedroom light during sleep, that confirms your automation is working. If deep sleep does not change, investigate other factors like room temperature, noise, or caffeine timing.
Experiment with different color temperatures for your pre sleep routine. Some people respond better to very warm 2200K light. Others find 2700K comfortable enough. The right setting depends on your individual sensitivity to blue light wavelengths.
Update your automations seasonally. In winter, you may need a longer and brighter morning simulation to compensate for reduced natural sunlight. In summer, you might delay the evening warm shift because the sun sets later.
Common Mistakes to Avoid When Syncing These Devices
Several mistakes can reduce the effectiveness of your sleep and light setup. Avoid these pitfalls for the best results.
Using lights that only support on and off states. Basic smart plugs connected to dumb bulbs cannot adjust brightness or color temperature. You need actual smart bulbs with tunable white capability for effective sleep automation.
Setting automations without time conditions. If your “fell asleep” automation turns off every light in the house, it might affect someone else who is still awake. Always limit sleep automations to specific rooms and specific time windows.
Ignoring firmware updates. Both your sleep tracker and smart lights receive periodic firmware updates that fix bugs and improve performance. An outdated tracker might stop sending webhook events correctly. An outdated bulb might not respond to dimming commands properly.
Relying entirely on the tracker without a backup schedule. If your tracker’s battery dies or you forget to wear it, you still need a baseline lighting schedule. Set up a time based circadian schedule as a fallback layer that runs even when the tracker is not active.
Expecting instant perfection. Your first night will not be perfect. Automation requires testing and adjustment. Give yourself at least two weeks to fine tune brightness levels, color temperatures, and trigger timing before evaluating the overall impact on your sleep.
Frequently Asked Questions
Can I sync any brainwave sleep tracker with smart lights?
Most EEG based sleep trackers can be synced with smart lights if they share data through a companion app that supports webhooks, APIs, or third party integrations. Devices that work with apps like Sleep as Android or have IFTTT integration are the easiest to connect. Check your specific tracker’s app for automation or export features before purchasing a smart lighting system.
Do I need a smart home hub to make this work?
It depends on your setup. If you use IFTTT, you do not need a hub because everything runs through the cloud. If you use Home Assistant, you need a device to run the software, such as a Raspberry Pi. If your smart lights use Zigbee or Z Wave protocols instead of Wi Fi, you will also need a compatible hub or coordinator to communicate with them.
Will syncing my sleep tracker with lights actually improve my sleep?
Research from institutions including the National Institutes of Health shows that light exposure is one of the strongest regulators of circadian rhythm and melatonin production. Automating your lights to reduce blue light before bed and simulate sunrise in the morning aligns with proven sleep science principles. Many users report faster sleep onset and more natural wake ups after implementing these automations.
What happens if my internet goes down during the night?
If you use a cloud based service like IFTTT, your automations will not fire during an internet outage. If you use Home Assistant with local control protocols like Zigbee, your automations will continue to work without internet because all processing happens on your local network. This is one of the key advantages of a local automation setup.
Can I use this setup with a sleep tracker that is not EEG based?
Yes. Wrist based trackers and smart rings can also trigger basic automations through compatible apps. However, they estimate sleep stages from heart rate and motion rather than measuring brain waves directly. This means their stage detection is less accurate, and stage specific lighting automations (like responding to deep sleep versus REM) will be less reliable than with an EEG based device.
How much does this entire setup cost?
The cost varies widely. A brainwave headband tracker ranges from moderate to premium pricing. Smart bulbs with tunable white capability range from budget to mid tier pricing depending on the brand. Home Assistant software is free, though the hardware to run it costs a small amount. IFTTT offers a free tier with limited applets and a paid tier for more complex automations. You can start with a basic two bulb setup and expand over time as you see results.
Hi, I’m Simmy — the creator and writer behind ScaleMyPic.com. I’m a tech enthusiast who loves breaking down complex products into simple, honest reviews and guides. My goal? To help you make smarter tech decisions without the confusion. Got a question? Feel free to reach out!